How to change the 2/4 Brake Duty Solenoid on the Jatco JF506E Automatic Gearbox (as fitted to the MG ZT and Rover 75 models)
You can use this guide for either changing the fluid, or changing the fluid along with the 2/4 Brake Duty Solenoid (a common issue with these gearboxes).
You will need:
- About 2 hours.
- A replacement of the solenoid you're changing (repair is unlikely) - you can buy them here: 2/4 Brake Duty Solenoid
- A clean container to catch the ATF removed from the gearbox, however I'd recommend replacing with new ATF. It'll need to hold at least 4L.
- Basic tools (10mm socket, small extension bar is useful, ratchet, 24mm socket and a breaker bar). I recommend 1/4" for the 10mm socket, and 1/2" for the 24mm socket.
- Instant Gasket. This will work: Liquid Gasket
If you are changing the ATF, I would recommend Carlube ATF-U or similar (Triple QX ATF-U from Euro Car Parts is also fine).
Halfords do a great 1/4" socket set I used for the job - I picked one up on offer for £24.99. Bargain. 
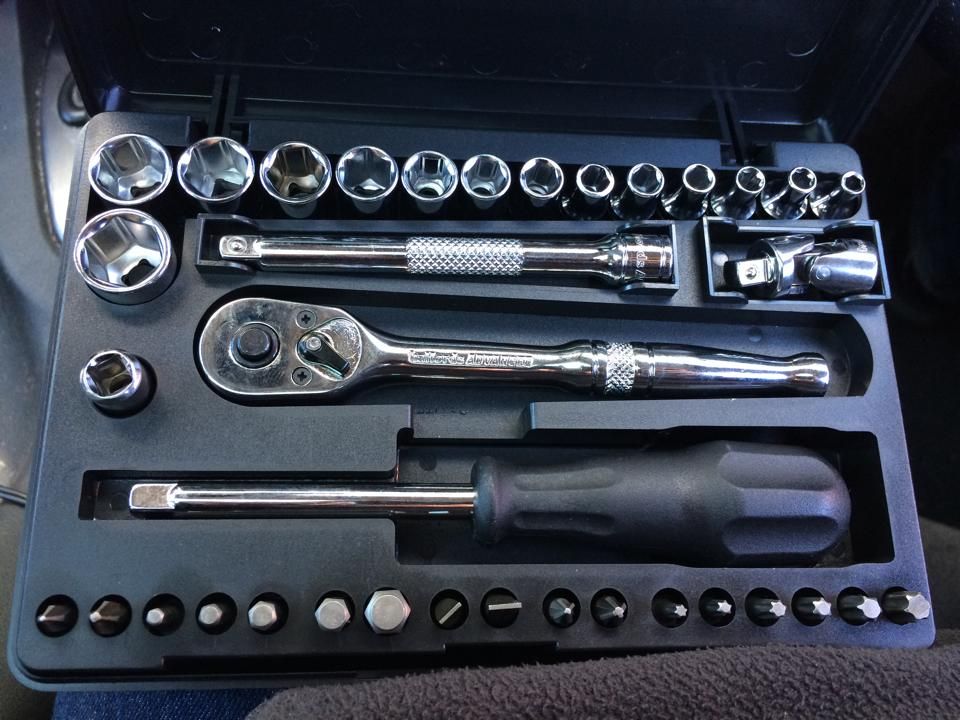
1. First of all, jack up your car and make sure it's secure. If only jacking up one side, make sure it's the passenger side.
2. Next, use your 24mm socket and breaker bar to undo the sump plug of the automatic gearbox, making sure your drain bucket is in place. Catch all of the ATF, and once the drain is just dripping, replace the plug and re-tighten.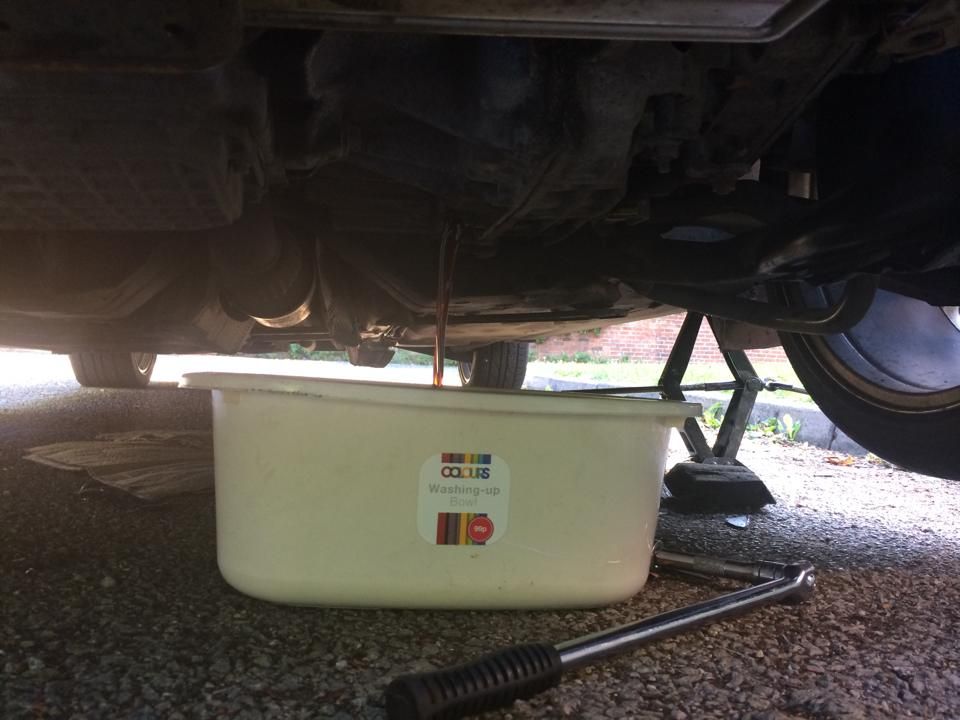
3. Depending on how much workspace you like, remove any items in front of and in the area of the automatic gearbox you think may be in the way - I removed both boost hoses, relocated the starter motor live connection, and the expansion tank.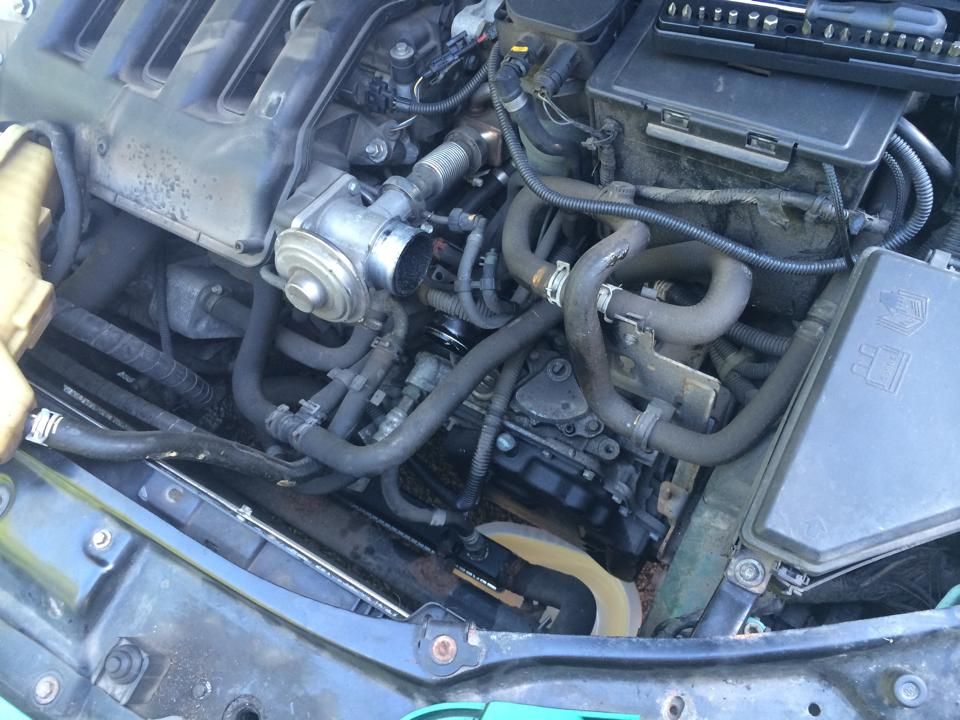
4. Remove all of the 10mm bolts around the front plate of the gearbox. The bolts along the bottom edge are best accessed from underneath.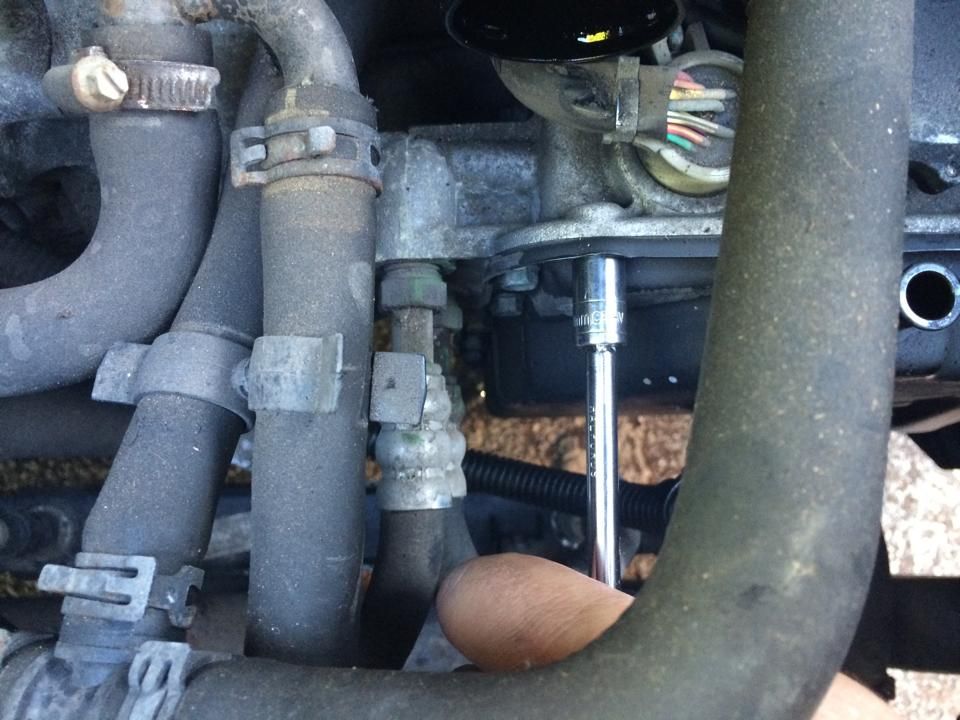
5. Carefully prise the plate away from the gearbox, taking care not to damage either the radiator or any of the solenoids with it. I'd recommend cleaning the inner surface of it - mine had a bit of 'sludge' upon it.
You'll see the following; this is the valve body: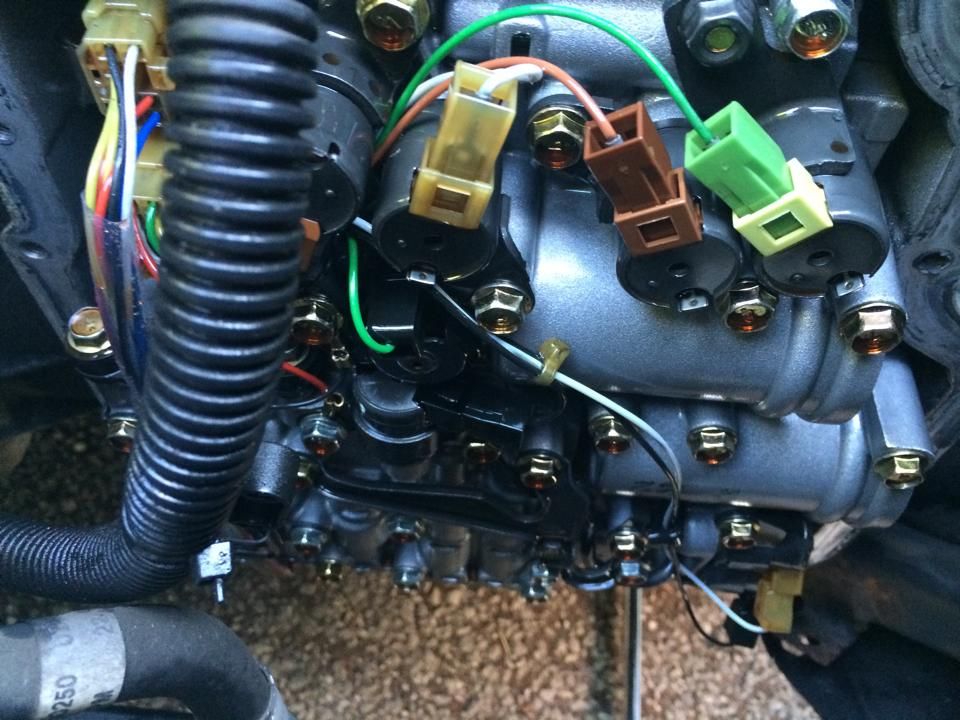
6. You need to now remove the solenoid in question - I imagine a lot of people viewing this will be doing so to change the 2/4 Duty Solenoid. When viewed from the front, it's the second solenoid from the bottom, on the right-hand side (top one in this picture):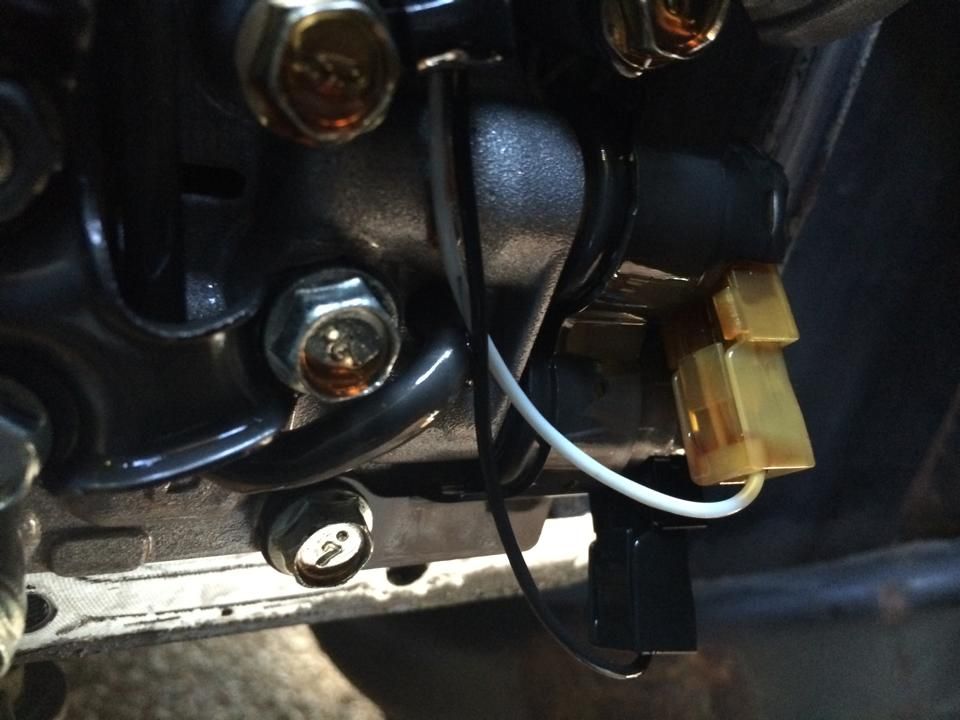
7. Fit your new solenoid, and re-connect it. Make sure all securing bolts are nice and tight.
8. Now the tricky part - re-attaching the front cover.
You need to be *very* careful you don't go OTT with the instant gasket, as it can cause all kinds of havoc if it starts floating around the gearbox.
First of all, clean the mating surfaces of the access panel and the gearbox.
Then apply a very thin bead of gasket around the plate, making sure you seal along the inside of the bolt holes. Once the gasket is applied, spread it out by flattening it with a lolly stick or the edge of a credit card. You should be left with a shallow coating of gasket around the sealing surface of the cover.
Line it up with the mating surface on the gearbox, being careful not to damage the newly-applied sealant. Once you've got it back in place, re-insert the bolts loosely at first, and once all bolts are in place tighten them correctly. The bolts don't need to be tight - just enough to ensure the instant gasket seal won't leak.
9. Refill the gearbox with the oil removed - if using new oil, allow the old oil to cool and then measure. Insert the same quantity of new oil as was removed, but you'll need to check the level is correct following the method at the end of this guide.
Refilling the gearbox is a piece of cake with a small plastic funnel - insert this into the filler plug (on top of the gearbox, with a rubber bung visible) and slowly fill until the 'level plug' dribbles with fluid. Re-insert the level plug.
10. Re-attach all removed items, and make sure all hose joints etc are leak-free if they've been disturbed.
Before moving the car, you need to sit with the car at idle and 'run through the gears' for 10 seconds at a time while keeping the car still - this makes sure oil is distributed as needed around the gearbox.
Finally, if you've used new oil, you can now check the level is correct by removing the 'level plug'. If no oil emerges, add a little at a time until it does.
